You may be wondering how to remove Ardell individual lashes, and you need to know how to safely and easily remove them. The good news is that they don’t require a special removal tool, and they can be removed one eye at a time. All you need to do is apply the remover to the lash line and gently swipe along the lash line until the adhesive starts to dissolve. Follow the preparation instructions and make sure to keep the lashes in their place.
How to Remove Ardell Individual Lashes with Eyelash remover

Ardell’s lash adhesives can be easily removed with a suitable solvent. The eyelash remover is specially formulated to soften the adhesive and remove individual eyelashes. The remover is safe for use on your eyelids and can be used on sensitive skin.
Depending on the type of adhesive used, you’ll need to use a solvent. Some solvents are too harsh and can cause irritation to the skin, so it’s important to read the directions on the packaging before you start applying it. Another option is to purchase a solution that’s specially designed for removing lash adhesive. There are a variety of solvents available in the market, but it’s best to ask a lash technician.
Once the glue is removed, you need to clean the lashes thoroughly. This is a good time to use a make-up remover. This is typically a liquid that is applied to the lashes. Once the lash adhesive is removed, you can use a nail polish remover to get rid of the adhesive. Once the glue is removed, you will need to discard the lash extensions to avoid transferring the residue.
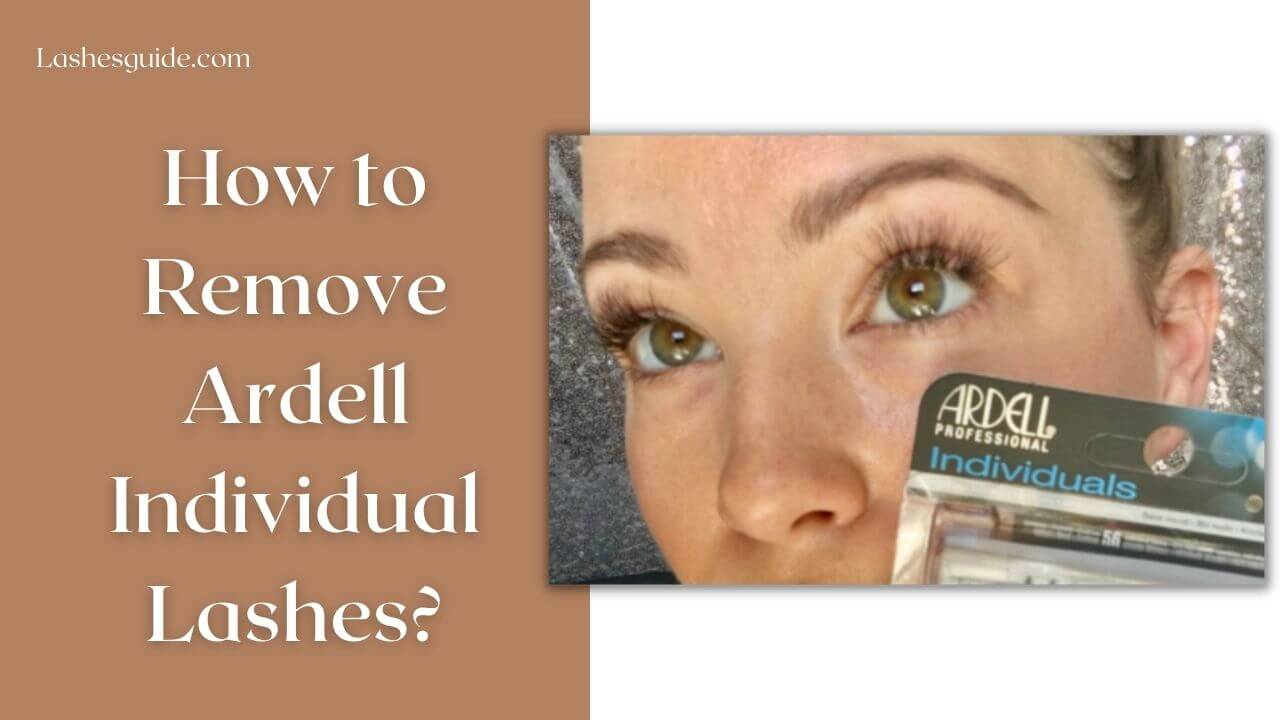
Ardell individual lashes
Ardell is a famous brand of false eyelashes, and these are the best-selling ones in the market. They are easy to apply and reusable. The fibers are thick and dark, making them look natural. The individual lashes can be placed close to your lash line, and they do not need to be trimmed. Moreover, you can easily remove them without any hassle.
Therefore, Ardell lashes are the best choice for those who want to try artificial lash extensions without a hassle.
Ardell’s eyelashes come in different styles and types. The individual lashes can last up to 2 weeks. The individual lashes are available only in one size. You can use them multiple times. However, you should never sleep in them, as they can tear.
Ardell is well-known for its long-lasting lashes. The lash adhesive used by Ardell is waterproof and weightless. In addition, they are backed by a guarantee. If you’re careful, the lashes will stay on. Then, you can remove them one by one. If you’re not careful, the lashes will fall off in pieces.
How to Remove Ardell Magnetic Lashes?
Ardell’s magnetic lashes are inexpensive and easy to apply. The company also states that the lashes are suitable for sensitive skin because they do not contain latex or parabens. They can be applied using your fingers or a lash applicator. Moreover, you can find out if these lashes are suitable for your skin type by reading reviews online.
These lashes are incredibly simple to apply and remove. However, if you follow these steps, you’ll be well on your way to successfully removing your lashes. Here are some of the key tips that will help you successfully remove these lashes from your eye.
Using a lash applicator, gently peel off the magnetic lashes. Dip the tip into 90% alcohol and hold the lash over your eye. You can also use a cotton swab soaked in water to wipe off the adhesive. Store them in their packaging or on a cotton swab to reuse.
Ardell Magnetic Lashes:
Ardell magnetic lashes are made with a thin layer of magnetic material, which attaches to the lash lining. The strips have five magnets evenly distributed throughout them, and they stay on for up to many wears.
The price of Ardell magnetic lashes is affordable, and the product is easy to use. The lash liner is also reusable, and it could last for a long time with proper care. It is also important to note that there are several types of Ardell magnetic lashes, which are meant for the outer half of the eye and are not for eyelid lining. But in general, they are great for beginners.
The Ardell magnetic lashes are inexpensive and easy to apply if you apply your magnetic lashes in the right way. You get one set of Demi Wispies and one pot of magnetic gel liner. The magnets are small enough to be completely undetectable, and the magnetic lash liner is very easy to apply. The lashes are also very comfortable to wear. They come in a small storage case for easy storage.
These magnetic lashes are a great option if you want to create dramatic looks without the hassle of glue. They’re cheap and easy to apply, but are they any good? The Ardell Magnetic Lashes are a good option for beginners. You’ll be glad you bought them.
Summing up:
Ardell has a few benefits. For example, their adhesive is the best option for long-lasting lashes. Unlike other brands, they can stay on for several days without falling off. If you’re careful, you can expect to see up to two weeks of wear from these fake lashes. You can also use them every day if you know how to remove Ardell lashes!